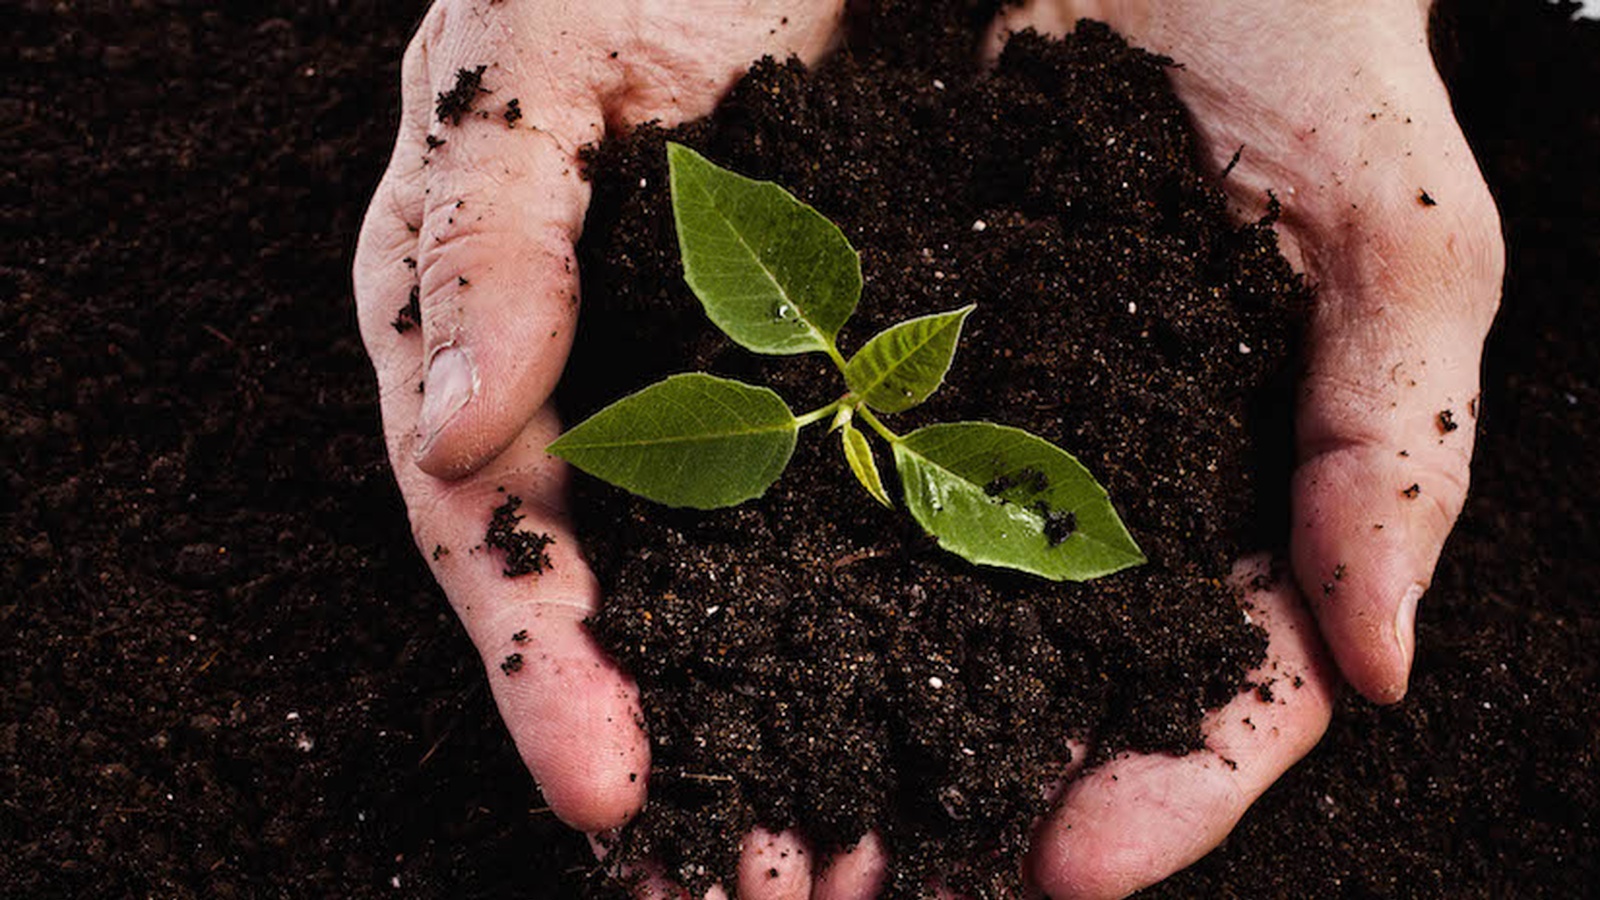
4 Simple Steps for DIY Composting
There are ENORMOUS benefits to adding just a little compost to your soil. Improved soil structure, aeration, and water retention are just a few benefits. It also adds important micronutrients in the soil. Interested in taking the challenge to green up your space a bit? Here are 4 simple steps to make it happen…
Step 1: Get a Bin
There are many types of bins available to hold your composting goodies. There are commercially made plastic bins, homemade wood square bins, a rotating style bin, or just a wide open space. Each type has their own advantages and disadvantages; try to select one that will fit best with your situation.
Step 2: Select a Location
Once you’ve got your bin you want to make sure you put it in the best location. Select a site that is accessible all year round because, let’s face it, you will have donations for the pile in -25degree weather as well! Also, make sure that the area is well drained. The benefit to composting over soil will allow those organic organisms to start the composting process quicker because they have quick and easy access to the pile! To super-charge this process, remove the grass and turn the soil up a bit!
Step 3: Feed the Pile
There are essentially 2 kinds of ‘food’ needed; the BROWN and GREEN kinds. Just like you and I need a balanced diet, so will your compost pile. A good mix of these two groups will provide the best nutritional balance!
The ‘Brown’ group includes things like dry and dead plants, straw, leaves, and sawdust. These items are chemically composed of mostly ‘sugars’ and therefore are a good source of energy for those composting critters. Keep in mind, since browns tend to be dry, they should be moistened before entering the compost system.
The ‘Green’ group are more fresh and well…GREEN! This group includes things like green weeds from the garden, fruit and vegetable scraps, green leaves, coffee grounds, and tea bags. This class contains more nitrogen in them, which is a critical component of proteins. Both you and I know we can’t live on carbs alone!!
Now, there are some things that were NEVER meant to be included in your compost. They rob your beautifully created masterpiece of oxygen and have the potential to carry disease. These items include: meat & bones, poultry & fish, fatty food waste, whole eggs, dairy products, human and pet feces, pernicious weeds, and chemically treated wood products.
Step 4: Bake the Cake
You’ve got the ingredients…now let’s put it together! It’s kind of like baking a cake… Lay some hay or straw at the bottom, then add some brown material, a little soil, some green material, topped with some more soil. Moisten lightly with water and voila…ready to bake! If you’re doubling the recipe, keep adding the ingredients, alternating layers, until your bin is full. Once full, let it ‘cook’ and ‘rise’. Every 2 weeks or so, turn the pile with a shovel to encourage a good mix. You’ll find it’s more ‘wet’ on the bottom than on the top layers. The more you turn, the shorter time to a finished product.
Depending on size, your compost should be ready anywhere from 1-6 months, sometimes longer. There is no picture perfect definition as to when it’s ready; your compost will be unique to you! Generally it’s considered ready when it’s dark in color and has an earthy smell (like the smell of soil). It should be hard to recognize any of the original ingredients, although the odd one may turn up.
Your finished product can be used for many things! Sprinkle a little on your houseplants; add a top layer to your flower and vegetable beds to act as a mulch; add to new planting areas to bring lots of nutrition to the new soil or rejuvenate those established beds; dust a light layer around trees; make a compost tea. **
**Compost tea: No it’s not what you think! It’s made by combining equal parts of compost and water and letting it ‘stew’. The liquid can be used to give a nutritional boost to those sad looking houseplants or delicate transplants. I DO NOT endorse drinking this concoction!
Let Us Know Your Composting Tips Below! Happy Composting!
If you haven’t already, join our free global challenge at www.GetOffTheGluten.com to receive daily recipes & health tips, access to our private group for support and inspiration, plus before and after testing to track your progress in key areas of your life such as weight, sleep, bloating, skin-conditions, mental health and more!

